

Laura Bermingham
Knowing how to self-tan comes in very handy when you're a bride with a busy social calendar and little time for appointments. Understandably, many brides prefer to leave tanning to the professionals, but lots of you have asked us how to do it yourselves, either for the big day itself or for fringe wedding events like the hen night, the rehearsal dinner or the honeymoon. And, of course, we had to come up with the goods! So, without further ado, here is our fool-proof step-by-step guide on how to self-tan at home. With any kind of beauty prep for a big event, organisation is key! Next, you'll need to gather your products. When choosing a self-tanner, there are a few things to consider, aside from shade. You want a product that's easy to apply, and it should also have serious staying power. It's also worth thinking about the finish you want, whether you prefer a subtle, radiant, or darker bronzed look. For all of the above, you need to consider the formula of the self-tan. The most common formulas are liquid, mousse, or lotion. We recommend trying out a few products to see which works best for you, so check out our post on our favourite self-tan products here! Exfoliating is crucial for getting that flawless, bronzed finish. Prepping properly reduces streaks, avoids clogged pores, and there's also less chance of the tan looking concentrated on elbows, knees, and ankles. We all have our own techniques for applying self-tan (some start at the ankles, others with the arms) but whatever your chosen method, we highly recommend following our top tips: If you've followed our steps so far, your tan should fade very evenly. Fancy getting more than a few days from your tan? You can do this by using a gradual tanning product from the same brand (mixing and matching doesn't always work well, using products from the same product line is usually your best bet). Every day or every other day after your initial application of the self-tanner, moisturise with a gradual self-tanner to boost hydration and help keep the tan looking glowing and bronzed. If you want to start over, but patchy tan is hanging around, use a tan remover, loofah, or if you are really stuck, body oil to help shift it. Tan remover or scrub is easiest, many of them contain glycolic acid to lift away the older tan, but even those with just salt or sugar as exfoliants will get the skin clear and primed for a new layer of self-tan. If you're testing out a few self-tanners for the big day, take photographs of each one once applied, to compare the finish and glow - there will be quite a few photographs taken around your wedding and on the big day itself, so it's good to see how it looks in natural and artificial light. Looking for more wedding beauty tips? We've got you covered!Step by Step How To Self-Tan Guide
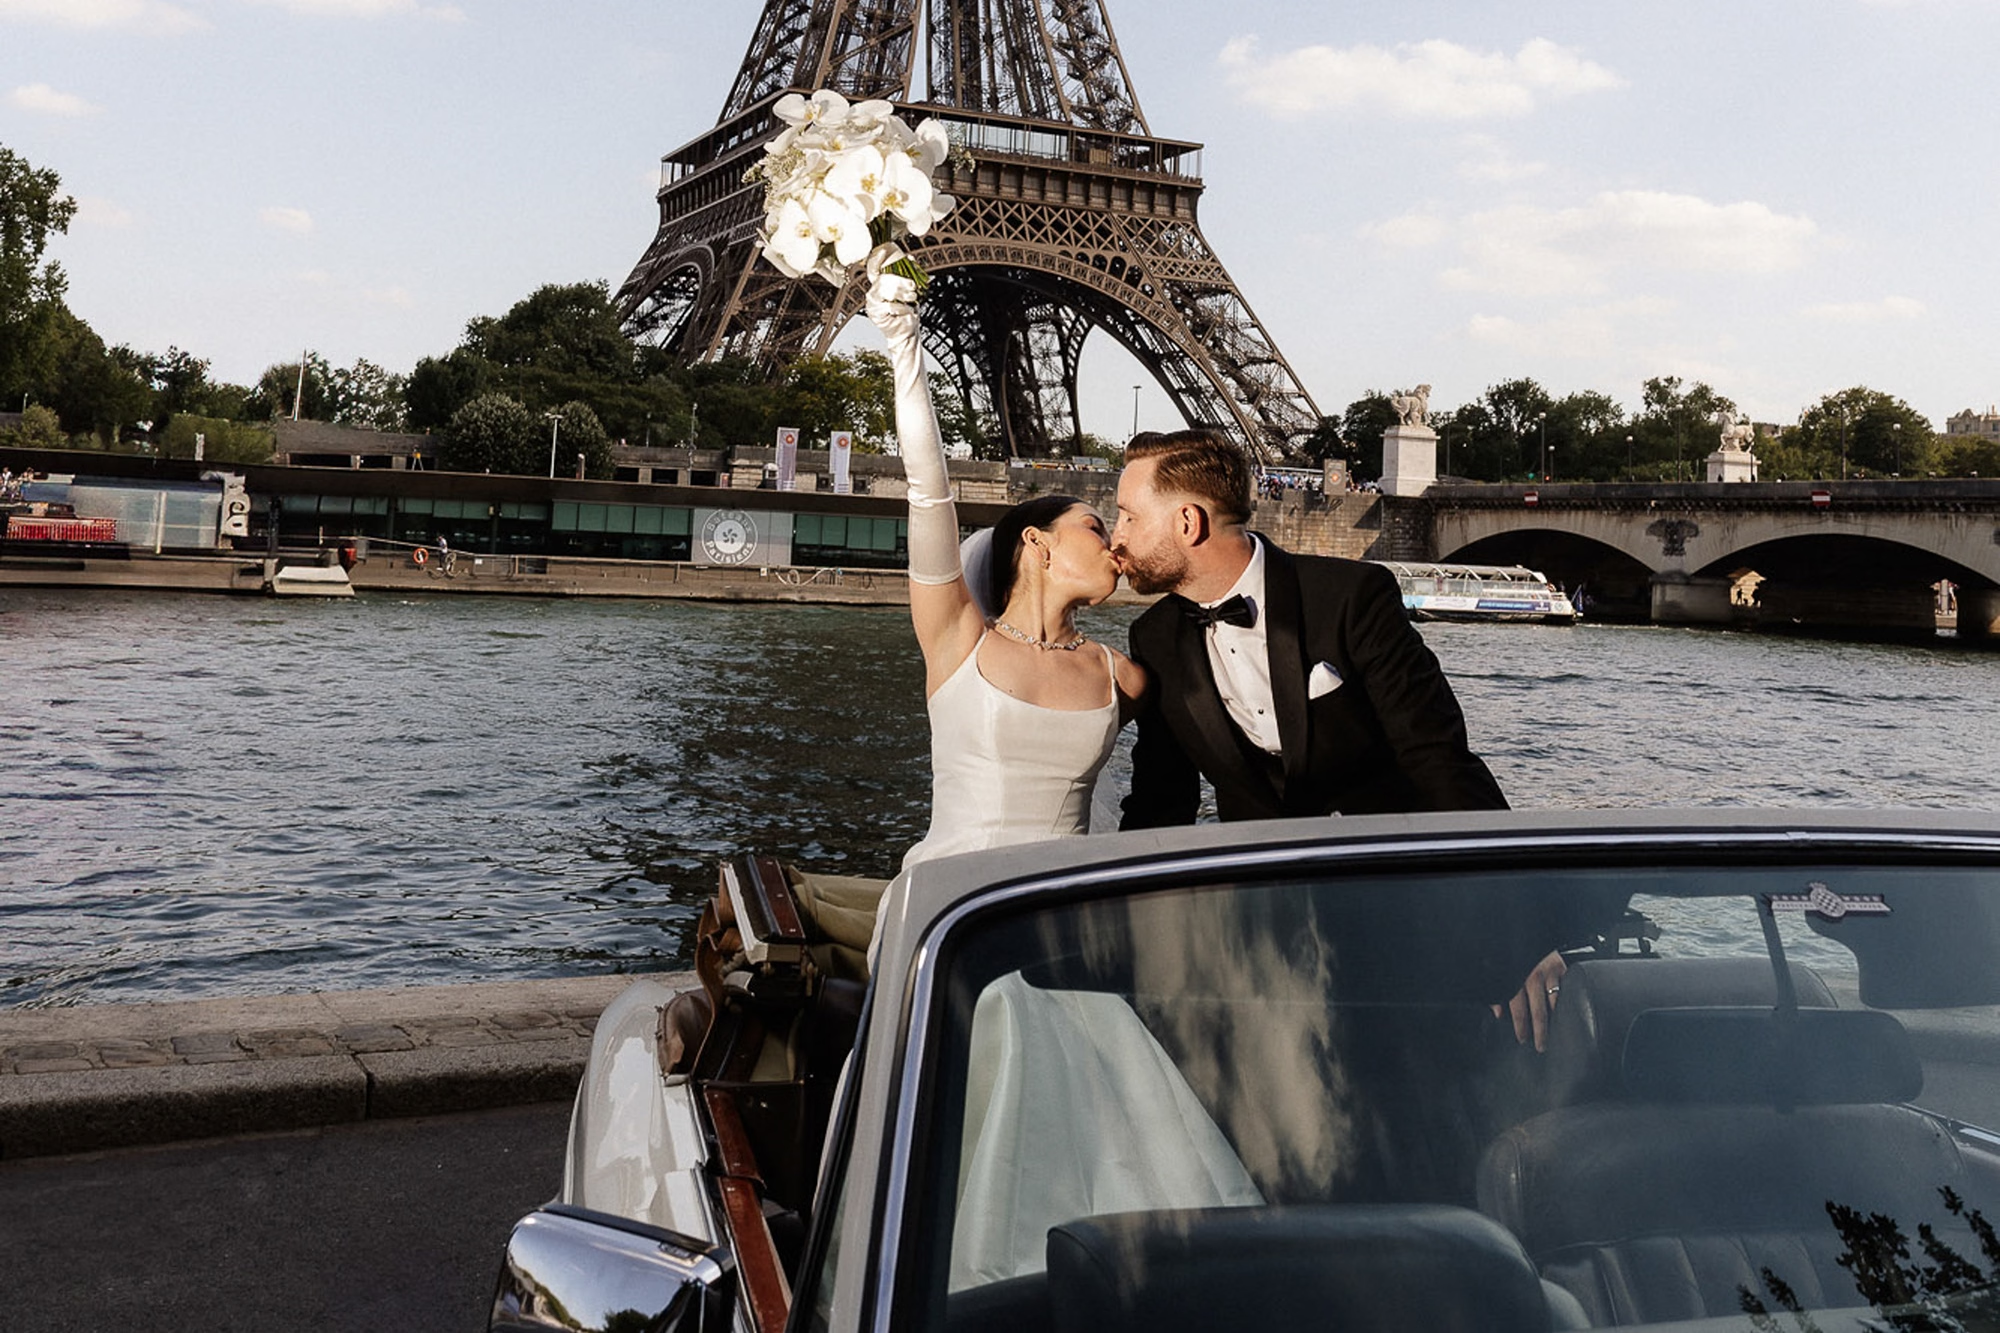
 Image by Julie Cummins Photography via One Fab Day
Step 1: Plan your Self-Tan or Self-Tanning Trial
Step 2: Choose a Self-Tanner
Step 3: Exfoliate (24 Hours Before Tanning!)
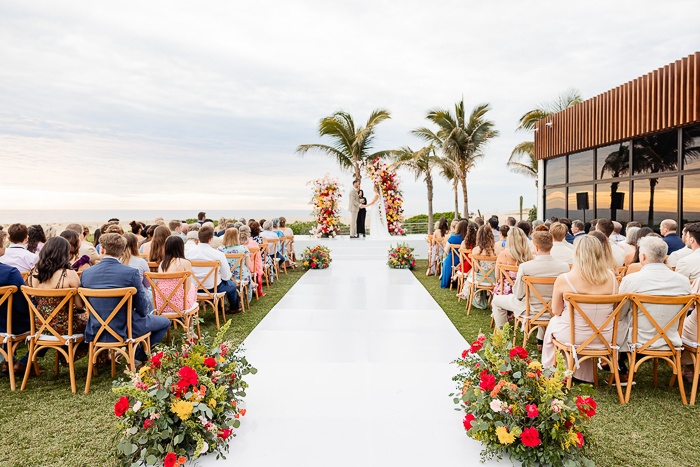
 Image by Nice 2 Look Photography via One Fab Day
Step 4: Apply Your Tan
 Image by Jonathan Continente via One Fab Day
Step 5: Maintain Your Tan
 Image by Nice 2 Look Photography via One Fab Day
Step 6: Start Over
One Final Self-Tanning Tip...

RECOMMENDS